DIY Cat Castle Turn Wooden Pallets into a Colorful Kitty Dream Home
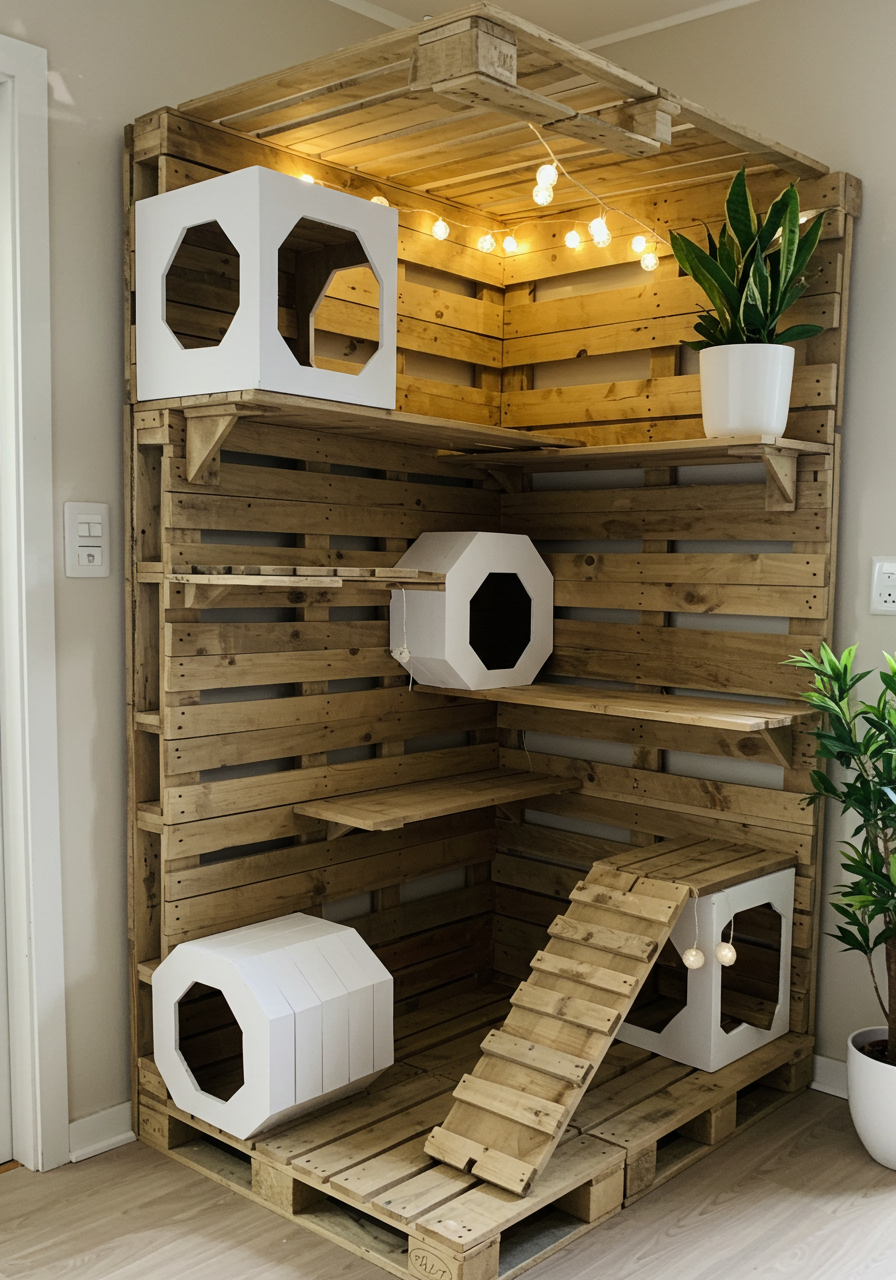
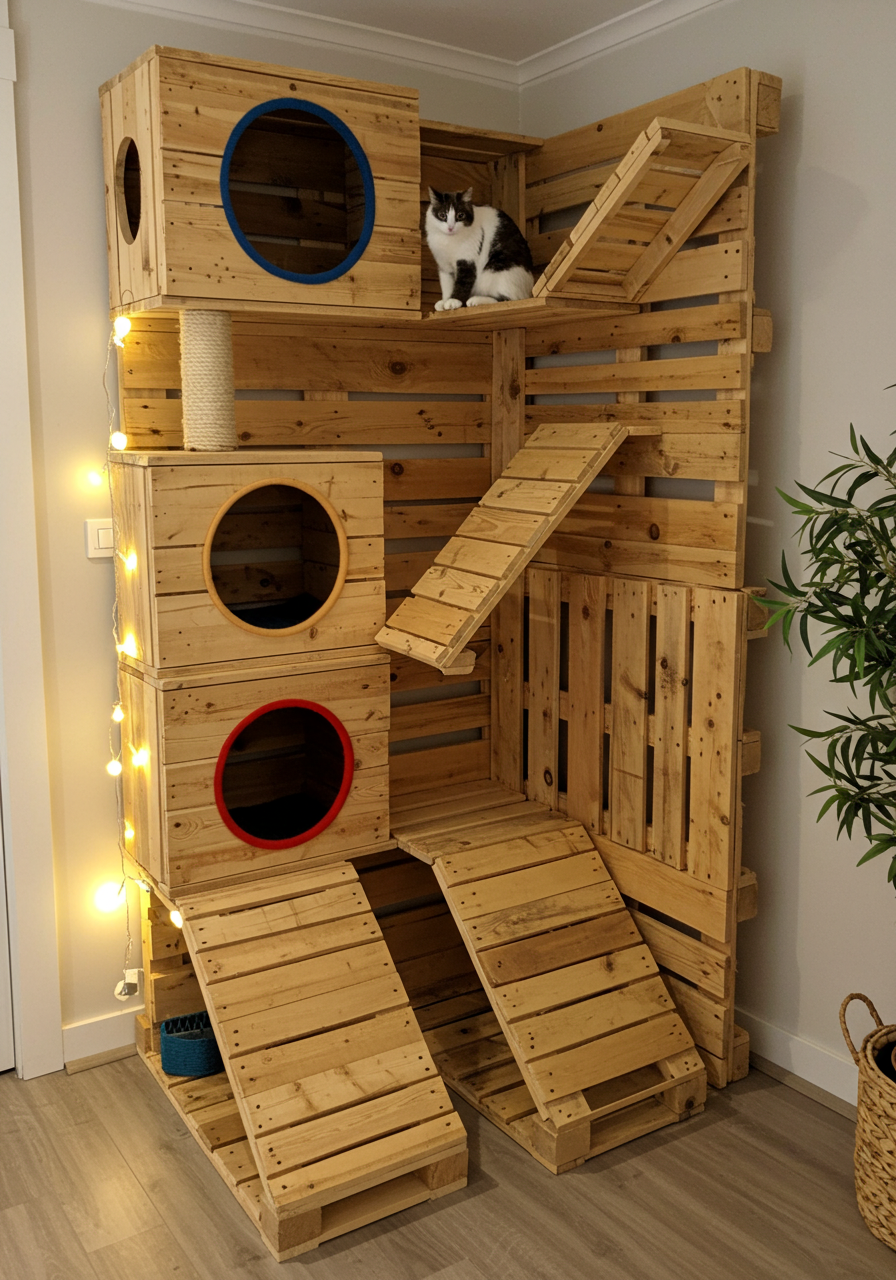
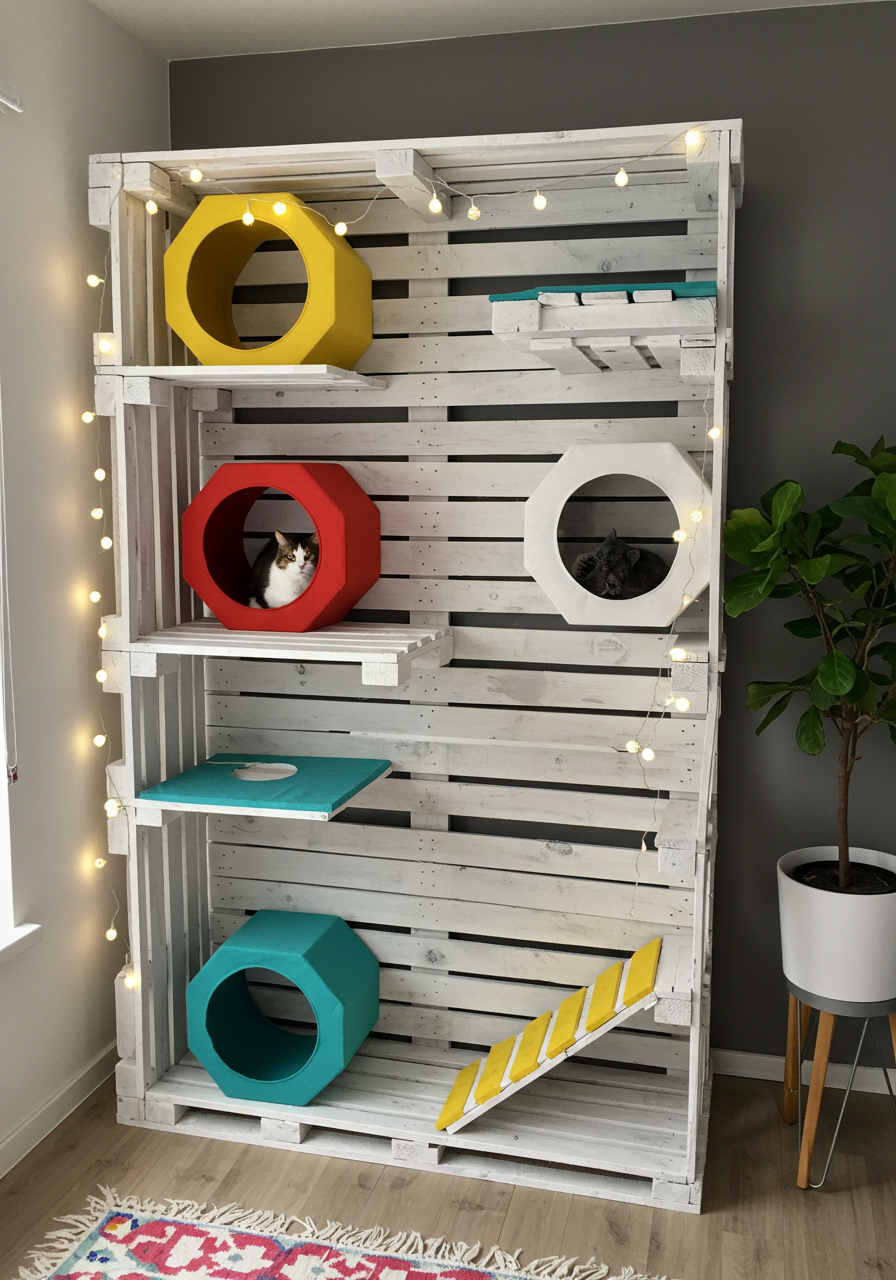
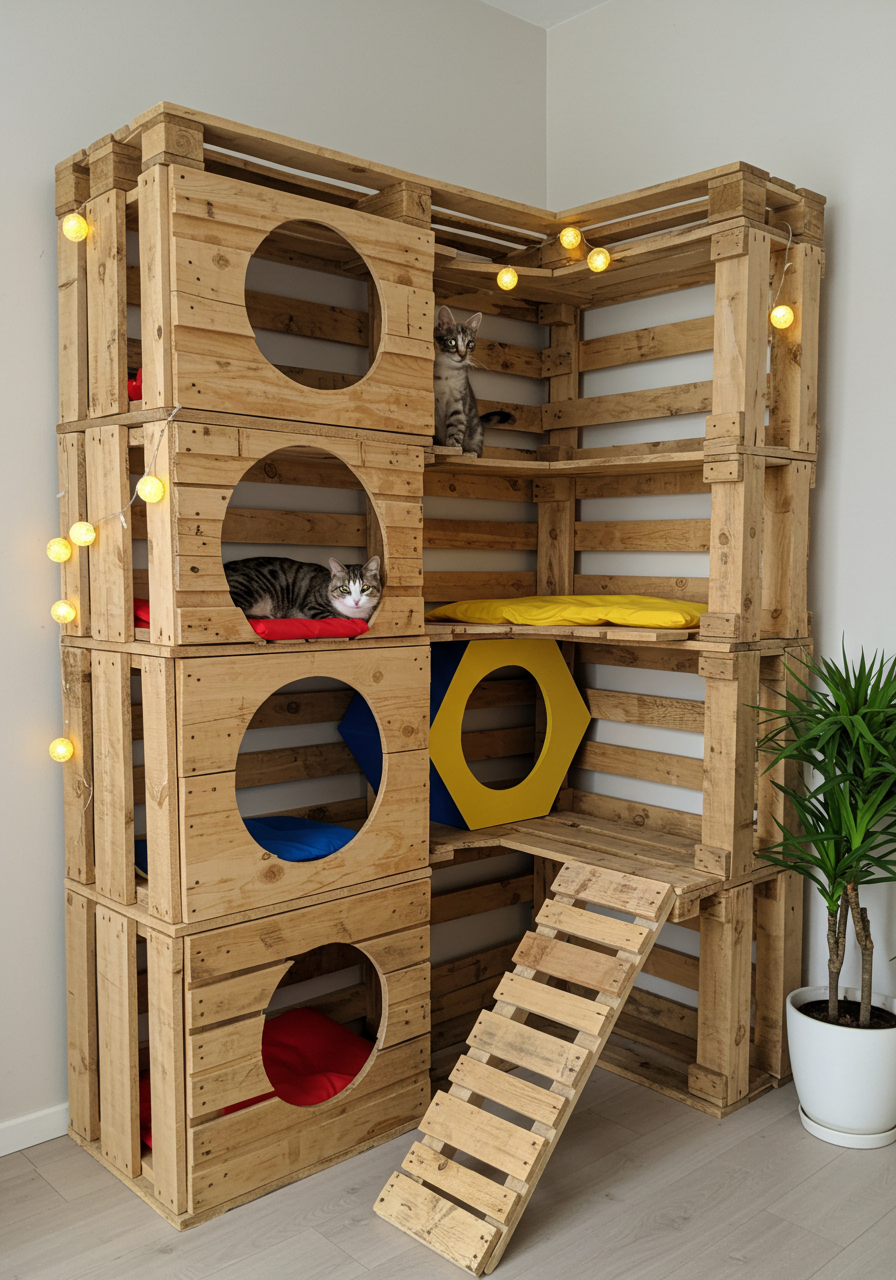
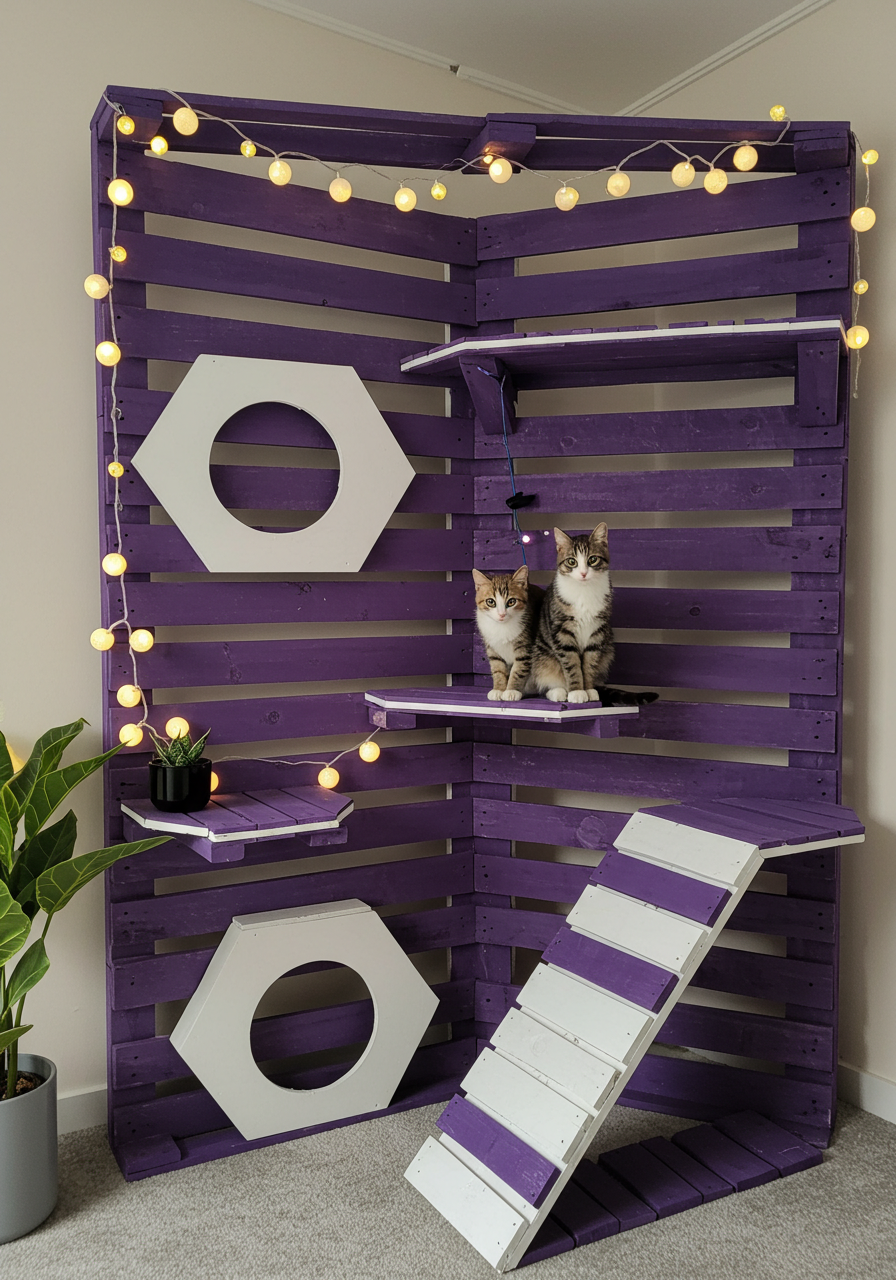
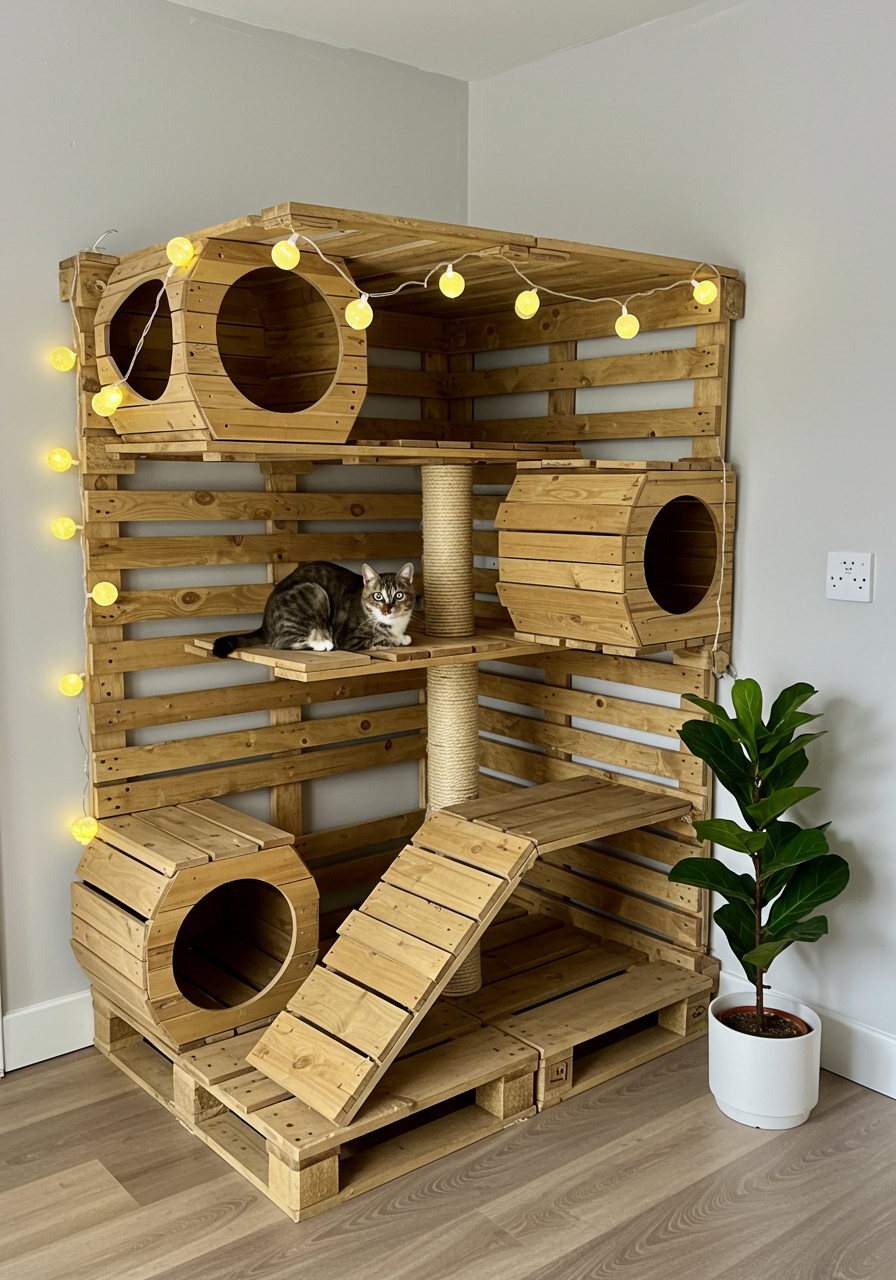
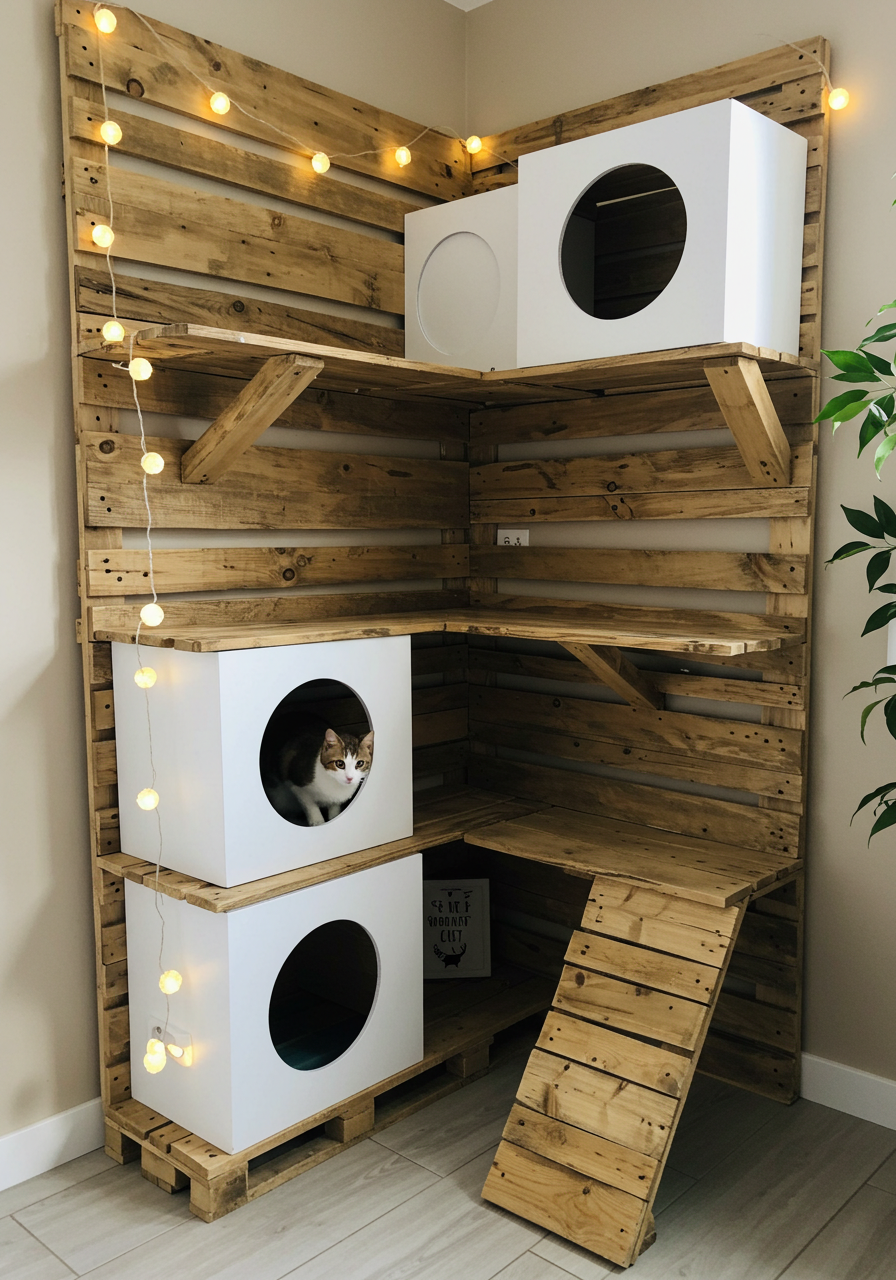
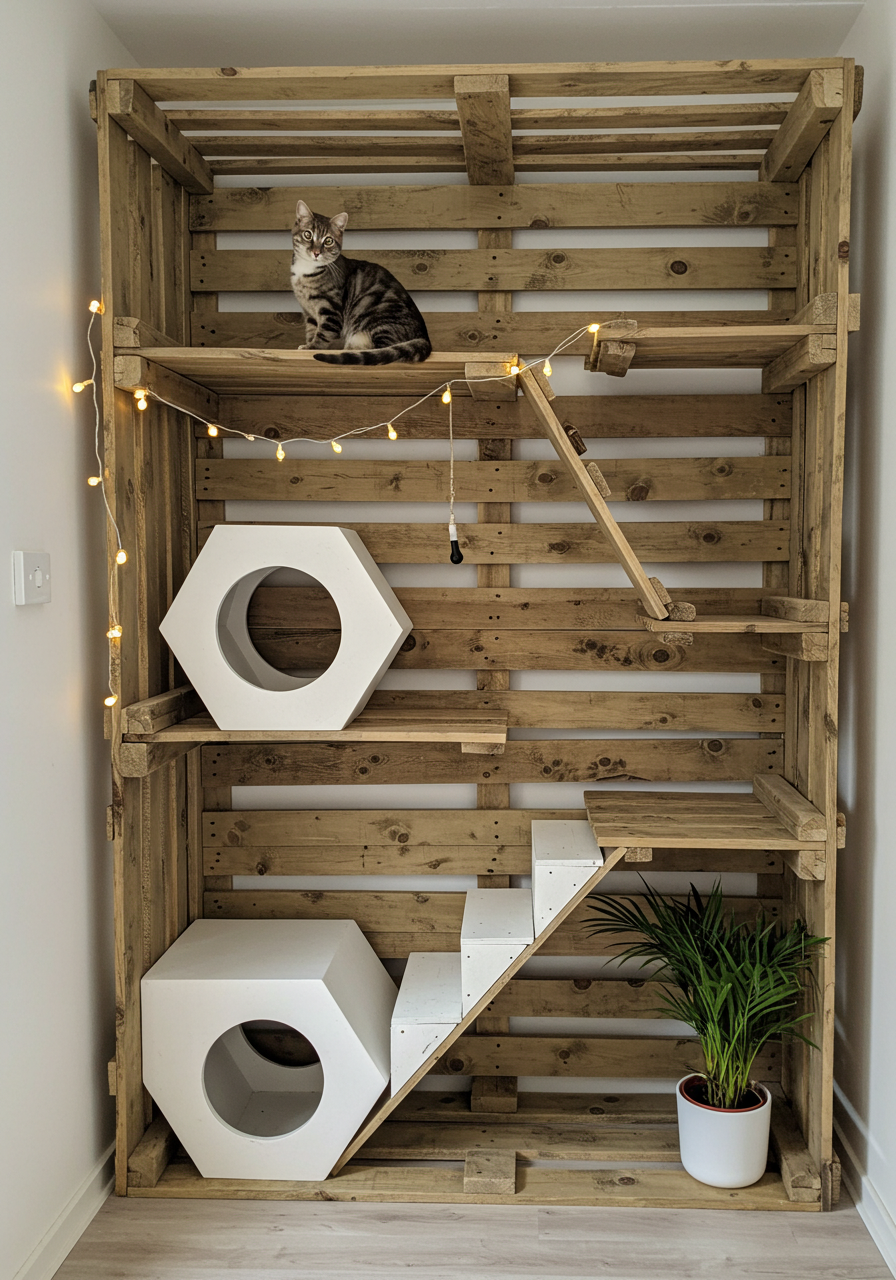
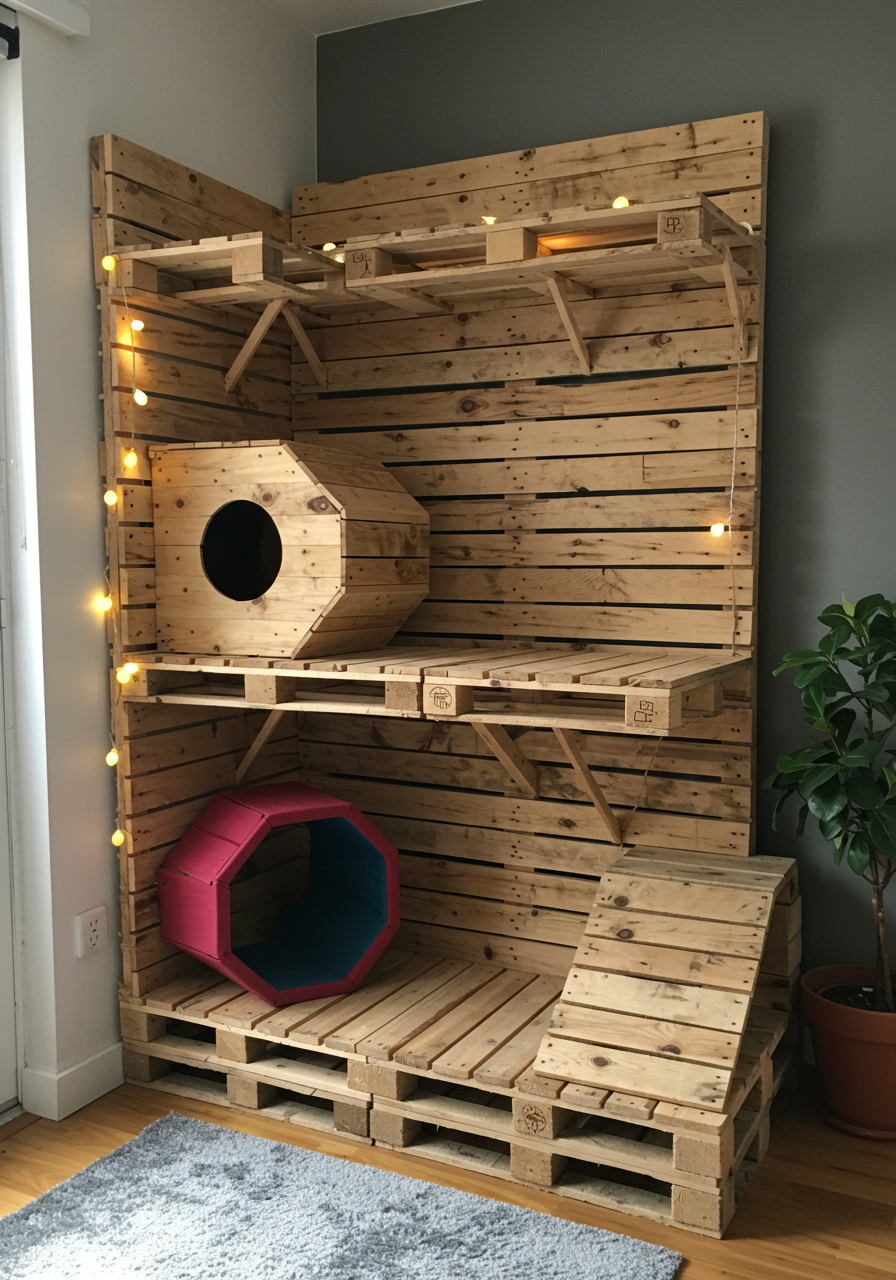
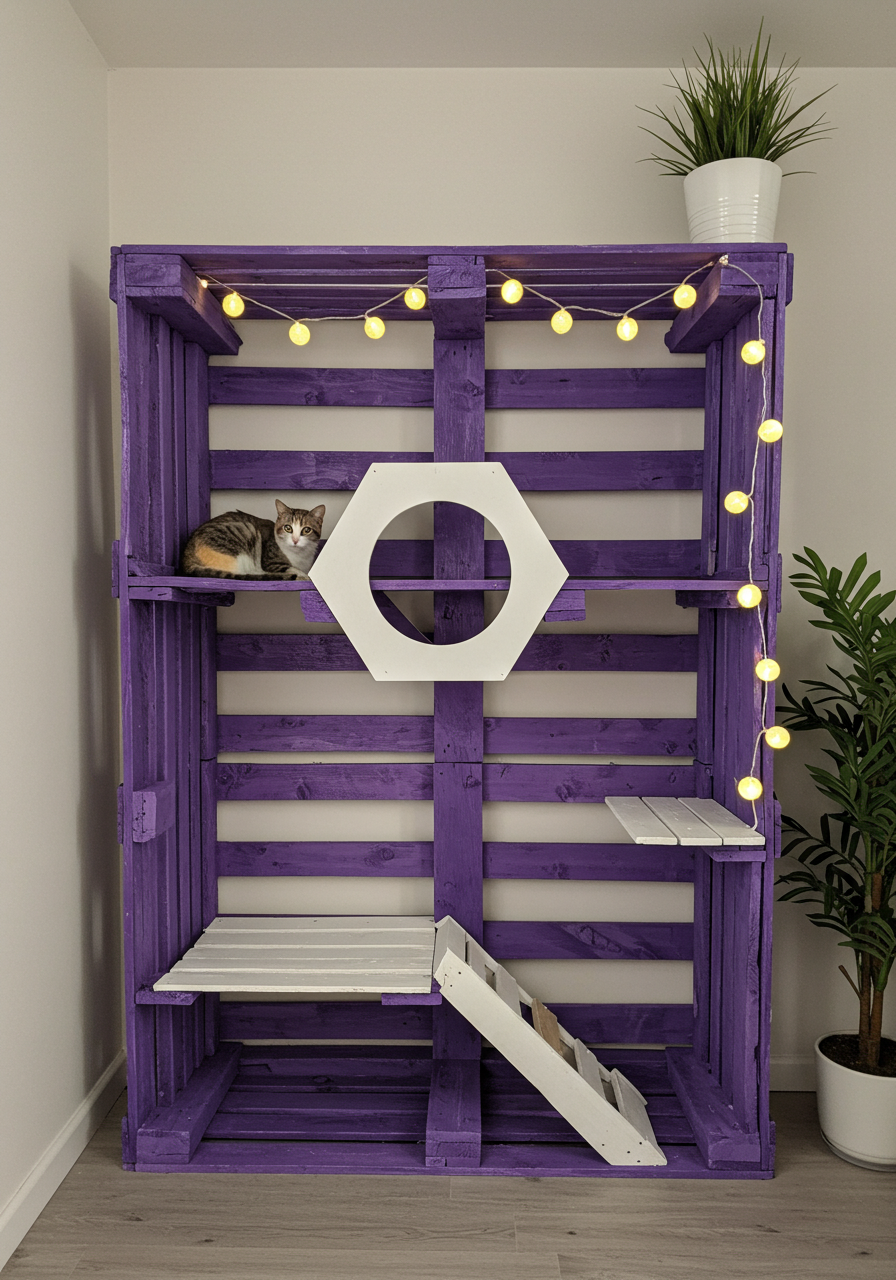
DIY Cat Castle made from wooden pallets! This eco-friendly and budget-friendly project is the perfect way to create a vibrant, multi-level playground that your cat will adore. By repurposing wooden pallets, you can build a sturdy and customizable cat house complete with cozy hideouts, scratching posts, and colorful designs. Whether your kitty loves to climb, nap, or explore, this castle will provide endless entertainment and comfort. With a little creativity and some non-toxic paint, you can turn simple pallets into a whimsical kitty dream home that’s as functional as it is beautiful. Get ready to unleash your inner DIY enthusiast and give your cat the royal treatment they deserve! 🐾✨
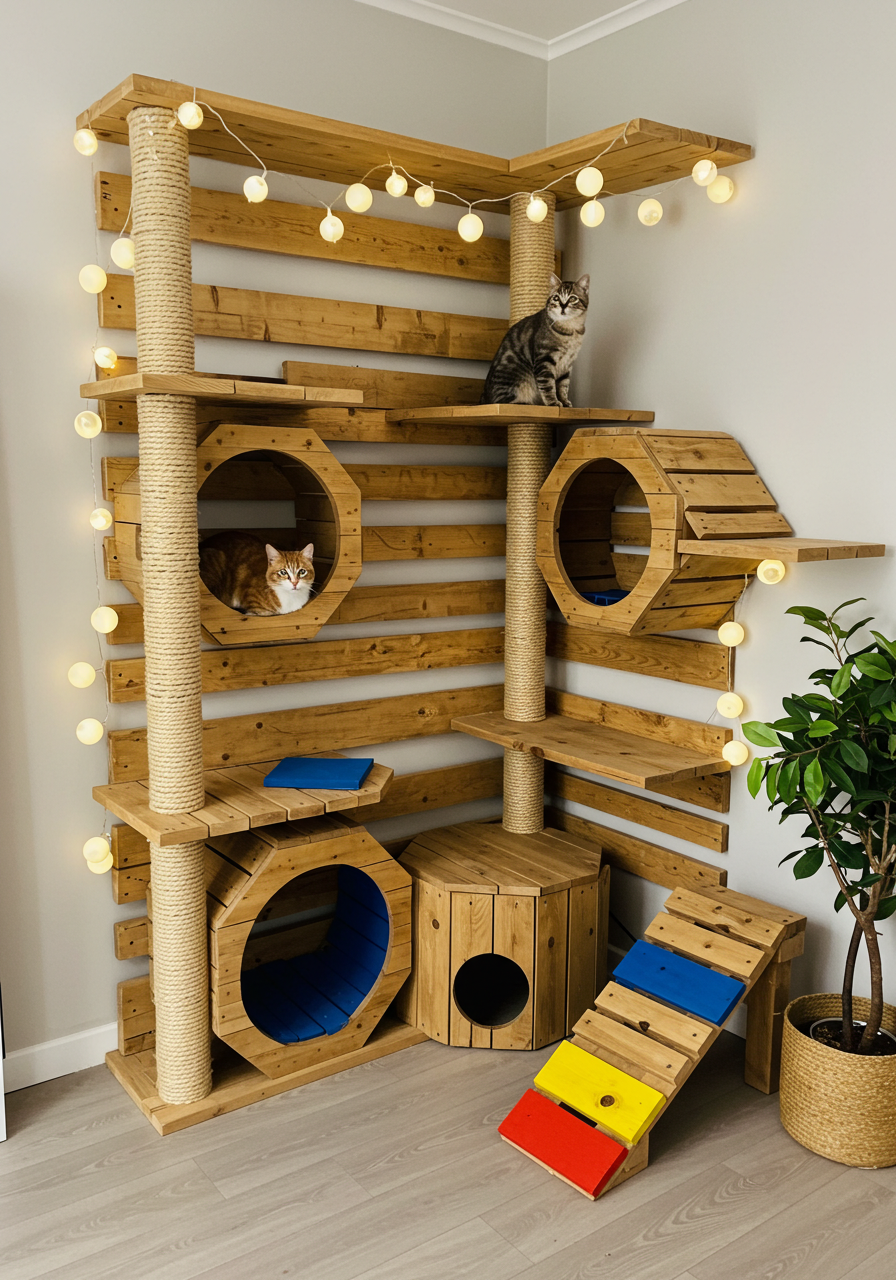
Cats love having their own space to explore, nap, and play. What better way to spoil your feline friend than by building them a custom cat castle made from wooden pallets? Not only is this project eco-friendly and budget-friendly, but it also allows you to unleash your creativity by adding colorful designs and personalized touches. In this guide, we’ll walk you through every step of the process, from gathering materials to adding the final decorative flourishes.
Why Build a Wooden Pallet Cat House?
Eco-Friendly: Repurposing wooden pallets reduces waste and gives new life to materials that might otherwise end up in a landfill.
Cost-Effective: Pallets are often free or inexpensive, making this project budget-friendly.
Customizable: You can design the cat house to fit your space and your cat’s personality.
Durable: Wooden pallets are sturdy and can withstand your cat’s scratching and climbing.
Fun and Rewarding: Building something with your hands is incredibly satisfying, and your cat will love their new hideaway!

Materials You’ll Need
Before you start, gather the following materials and tools:
Materials:
2-3 wooden pallets (ensure they are clean and free of chemicals or splinters)
Sandpaper (medium and fine grit)
Non-toxic wood paint or stain in various colors
Wood screws or nails
Wood glue
Carpet scraps or sisal rope (for scratching surfaces)
Soft cushion or pet bed (for comfort)
Optional: Small wooden planks or plywood for additional platforms
Tools:
Saw (hand saw or circular saw)
Drill and screws
Hammer
Paintbrushes or spray paint
Measuring tape
Pencil
Safety gear (gloves, goggles, and a mask for sanding and painting)

Step-by-Step Instructions
Step 1: Prepare the Pallets
Inspect the Pallets: Make sure they are clean, sturdy, and free of nails or splinters. Avoid pallets treated with chemicals, as these can be harmful to your cat.
Disassemble the Pallets: Carefully take apart the pallets using a hammer and pry bar. Remove nails and set aside the planks for later use.
Sand the Wood: Use medium-grit sandpaper to smooth out rough edges and surfaces. Follow up with fine-grit sandpaper for a polished finish. This step is crucial to prevent your cat from getting splinters.
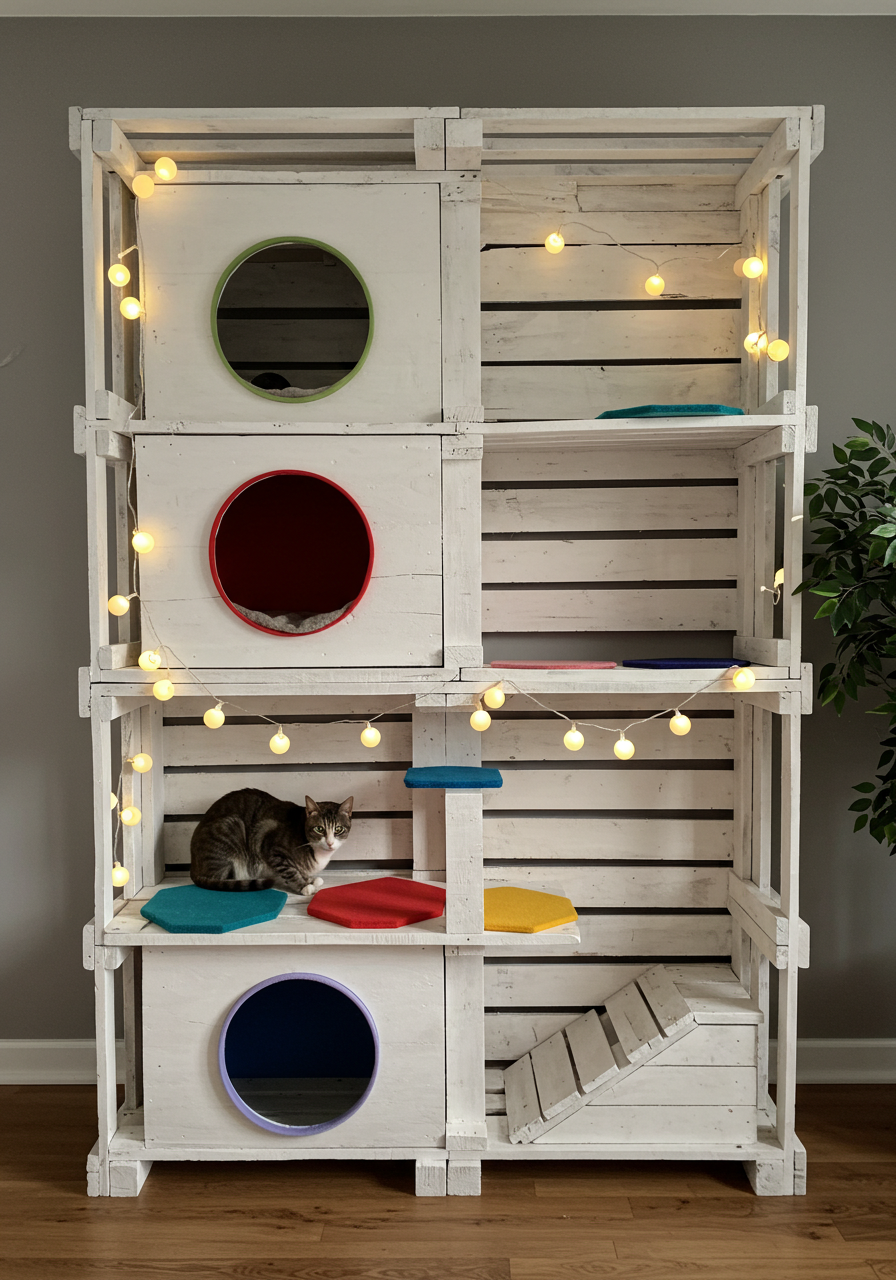
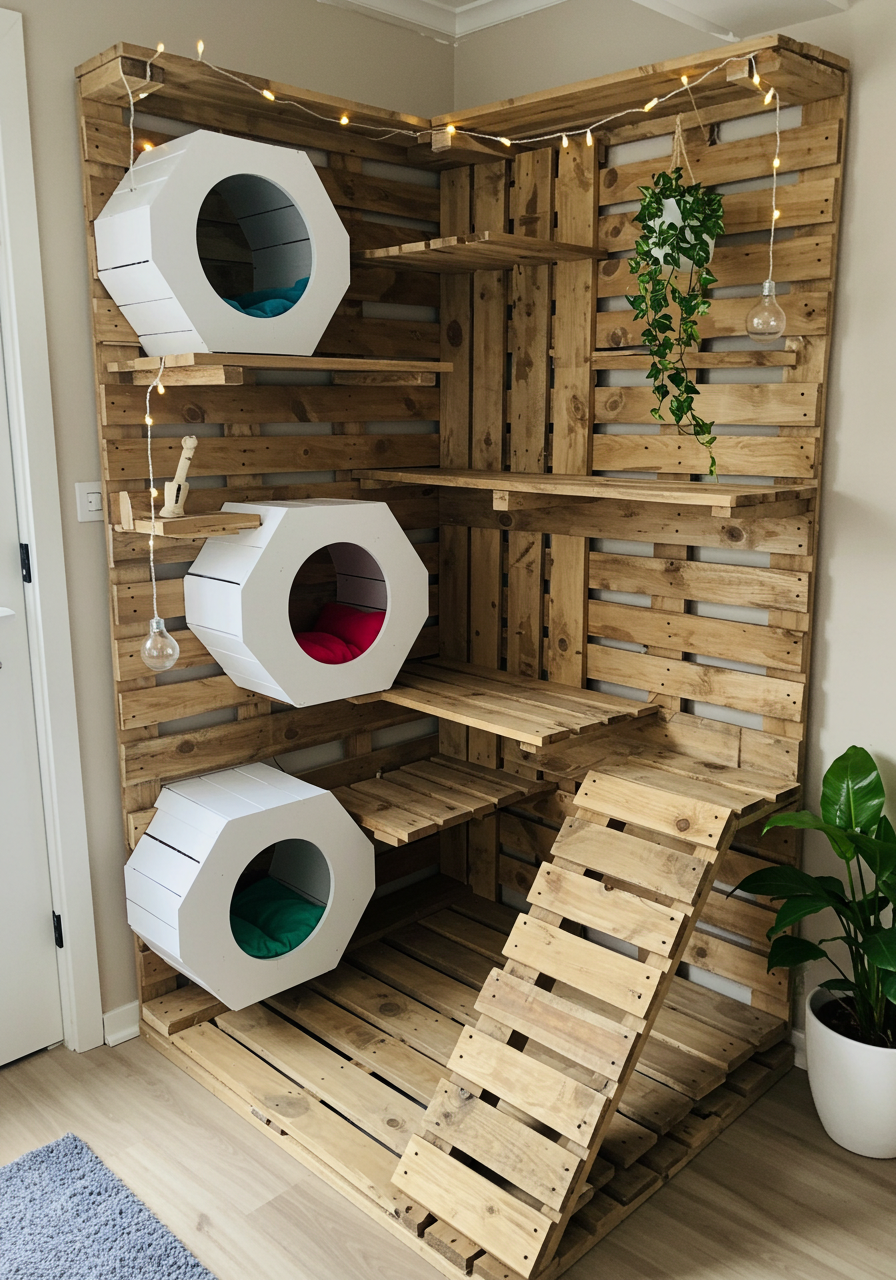
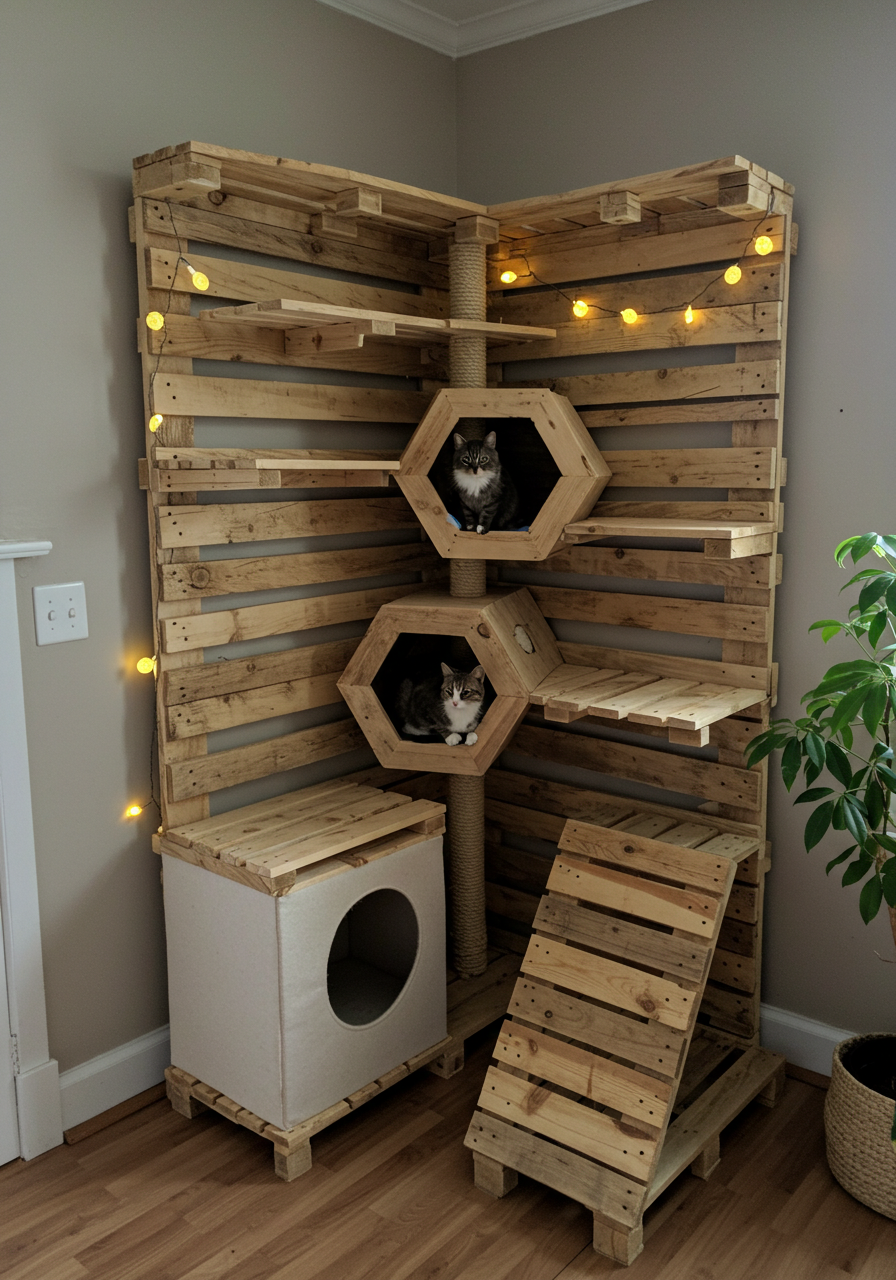
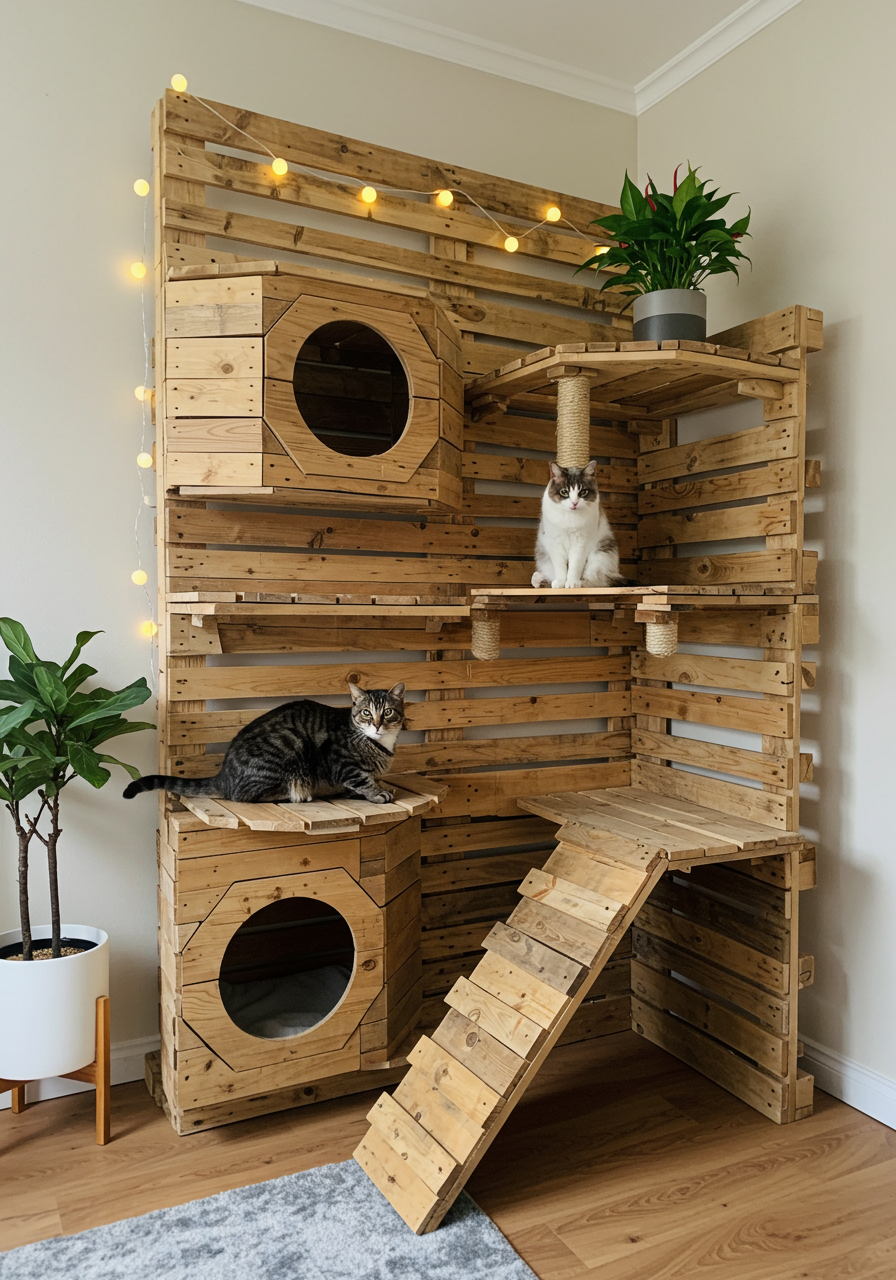
Step 2: Design Your Cat Castle
Sketch a rough design of your cat house. Consider adding multiple levels, hideouts, and scratching posts.
Think about your cat’s preferences. Do they love climbing? Add vertical elements. Do they prefer cozy hideaways? Include enclosed spaces.
Plan for a base, walls, and a roof. You can also add ramps, ladders, or tunnels for extra fun.
Step 3: Build the Base
Create the Foundation: Use the largest pallet planks to build a sturdy base. This will serve as the floor of the cat house.
Add Legs (Optional): If you want to elevate the cat house, attach wooden legs to the base using screws.
Step 4: Assemble the Walls and Levels
Vertical Supports: Attach vertical planks to the base to create the frame of the cat house.
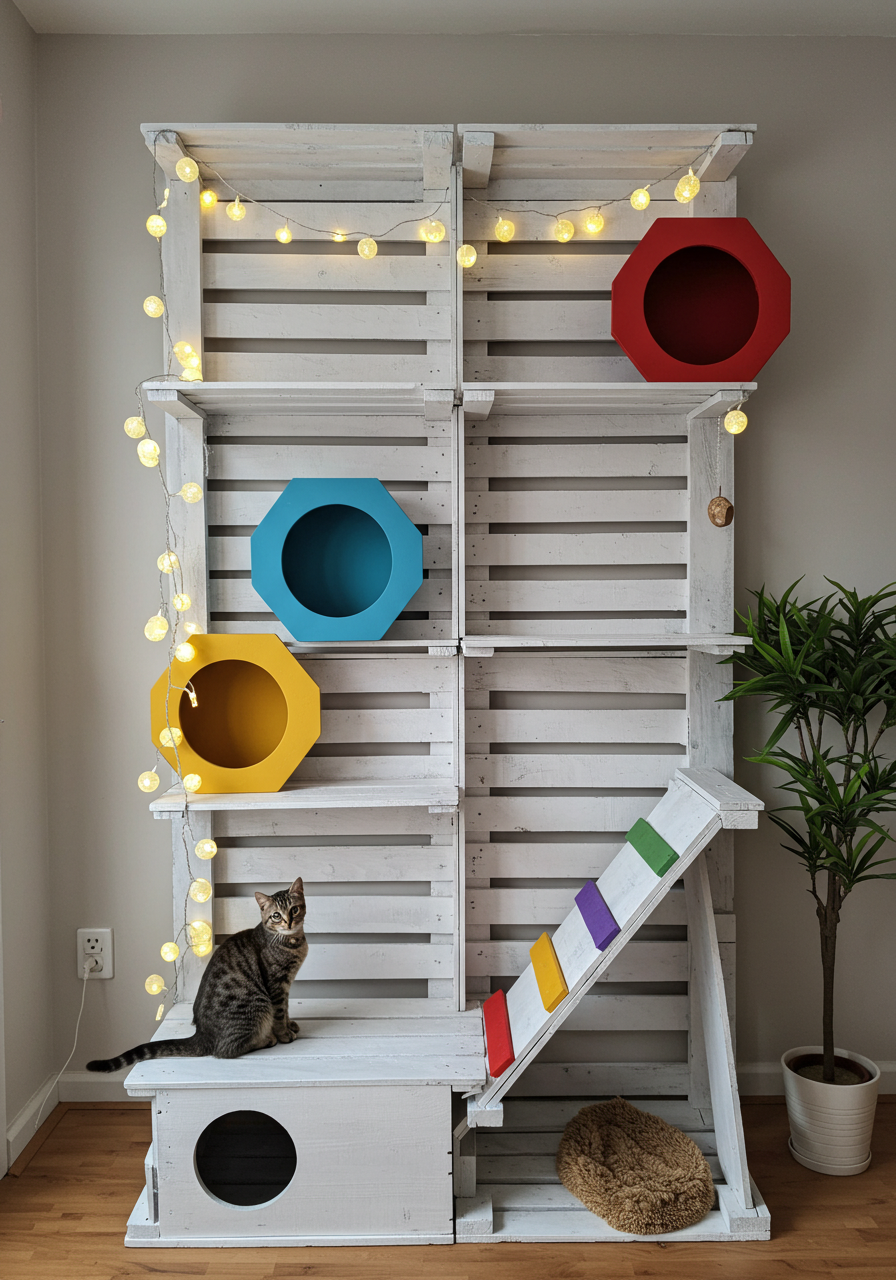
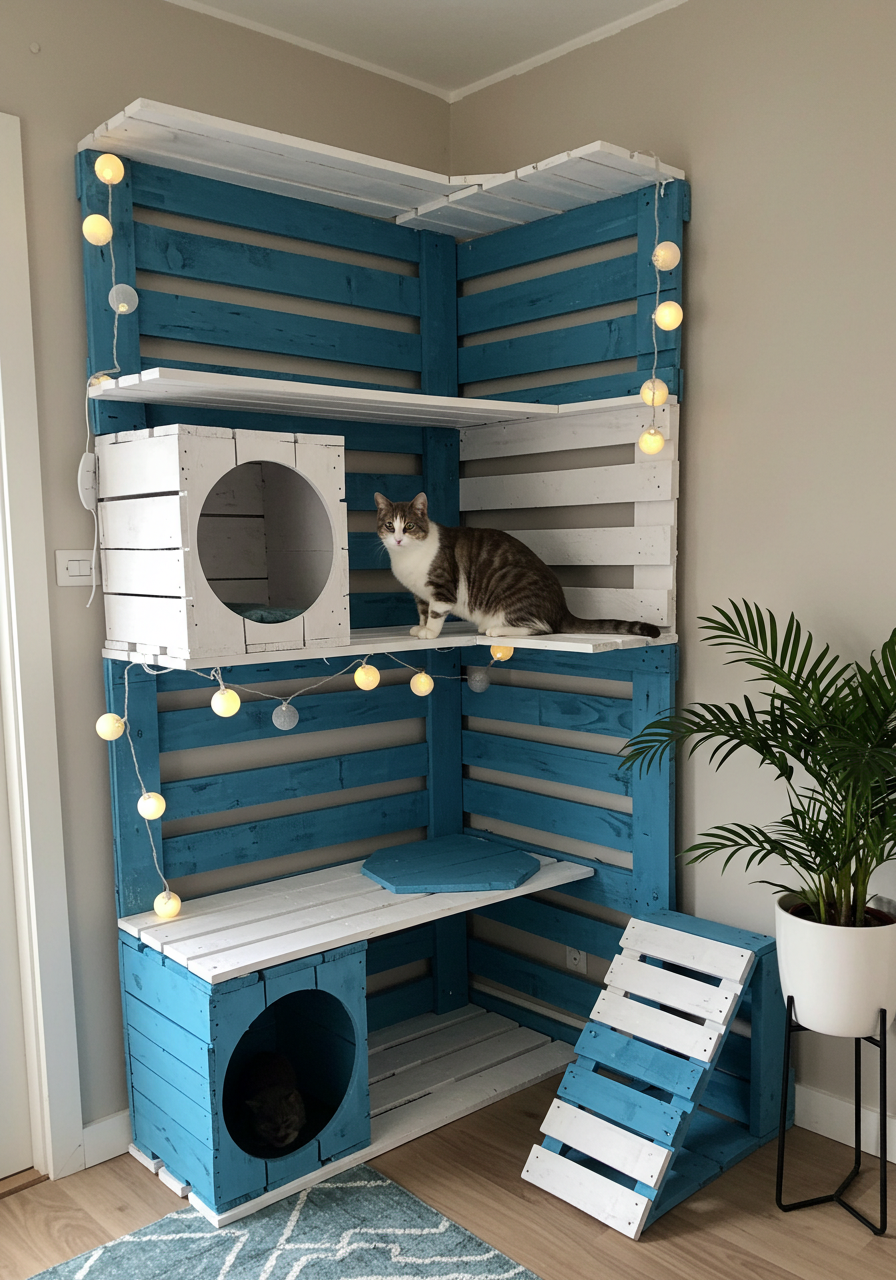
Add Platforms: Use smaller planks to create platforms at different heights. Secure them with screws or wood glue.
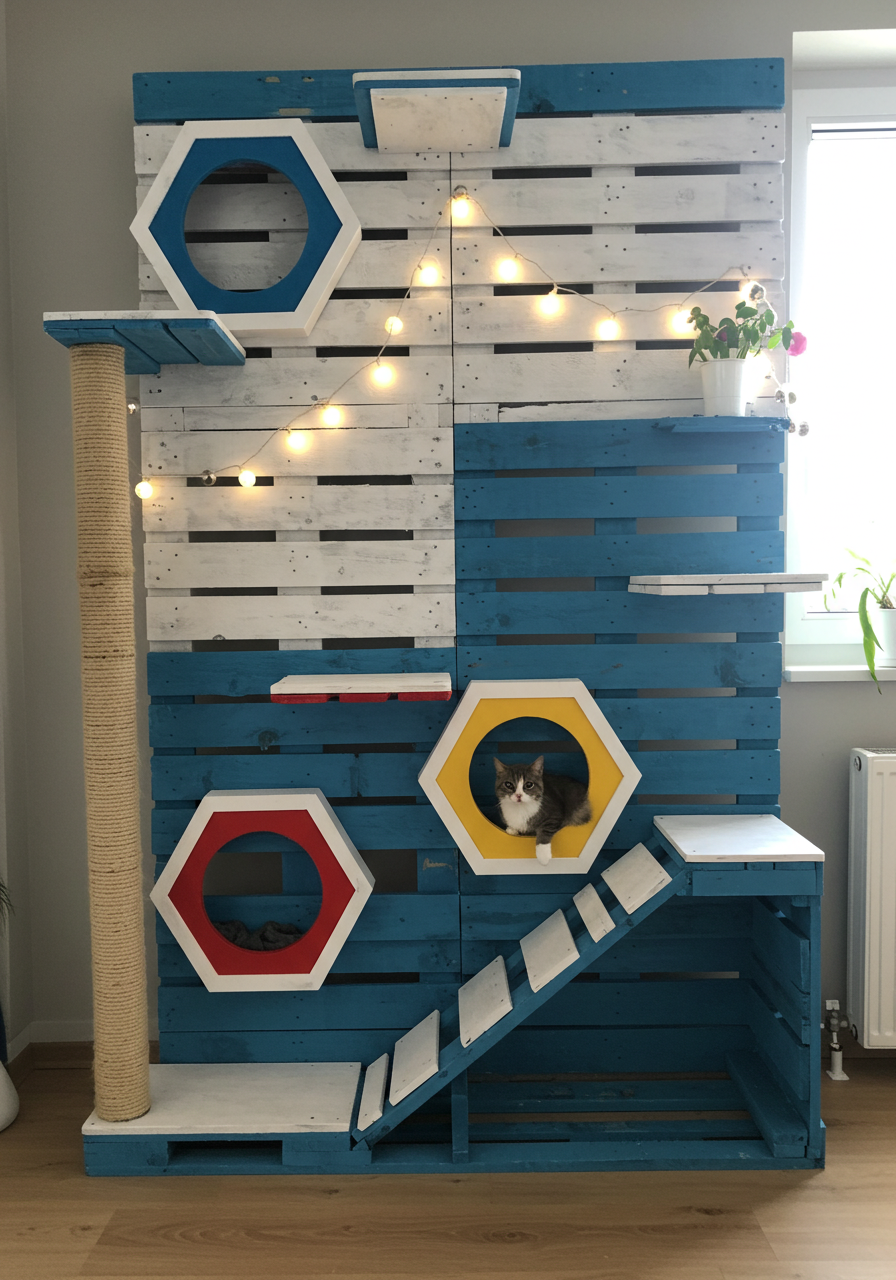
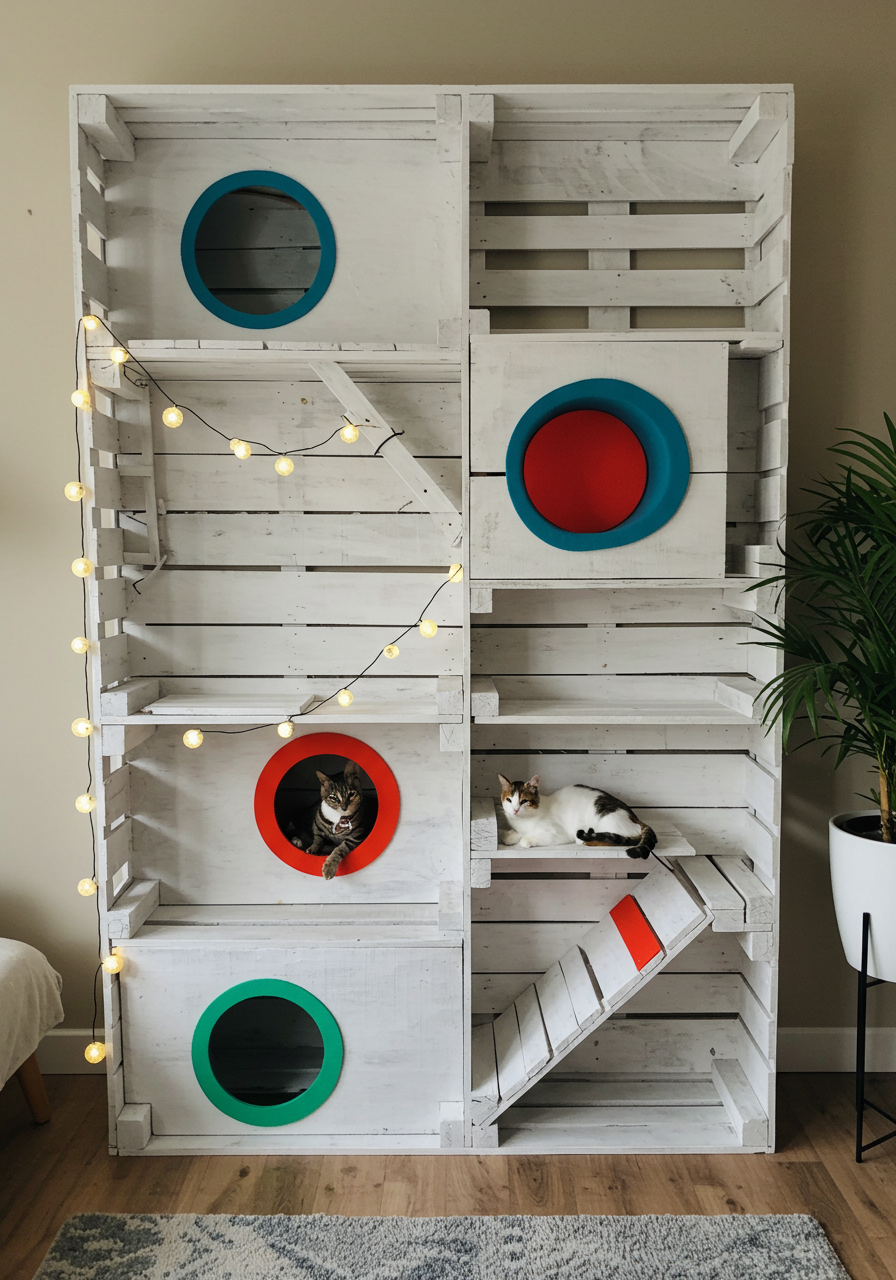
Enclosed Spaces: Use plywood or additional planks to create cozy hideouts. Cut holes for entrances and exits.

Step 5: Add a Roof
Create a simple sloped or flat roof using pallet planks or plywood. Ensure it’s securely attached to the frame.
Step 6: Incorporate Scratching Surfaces
Wrap sisal rope around vertical supports or attach carpet scraps to platforms. This will give your cat a designated scratching area and help protect the wood.
Step 7: Paint and Decorate
Choose Non-Toxic Paint: Use pet-safe paint or stain to add color to your cat house. Bright, cheerful colors will make it visually appealing.
Get Creative: Paint patterns, shapes, or even a mural. You can also stencil your cat’s name or add paw prints for a personal touch.
Seal the Wood: Apply a non-toxic sealant to protect the paint and wood from wear and tear.

Step 8: Add Comfort and Fun
Place a soft cushion or pet bed inside the hideouts.
Hang toys from the roof or platforms to encourage play.
Add a dangling ball or feather toy for extra entertainment.

Safety Tips
Avoid Toxic Materials: Ensure all paints, stains, and sealants are non-toxic and safe for pets.
Secure All Elements: Double-check that all screws, nails, and planks are securely fastened to prevent accidents.
Smooth Edges: Sand any rough areas to protect your cat from injury.
Stability: Make sure the cat house is stable and won’t tip over, especially if your cat is active or likes to climb.
Creative Ideas to Personalize Your Cat Castle
Themed Designs: Create a jungle-themed cat house with green paint and leaf cutouts, or a beach-themed one with blue and sand-colored accents.
Multi-Cat Friendly: Build multiple levels and hideouts to accommodate more than one cat.
Interactive Features: Add tunnels, hammocks, or hanging toys to keep your cat entertained.
Matching Decor: Paint the cat house to match your home’s décor for a cohesive look.
Maintenance Tips
Regularly check the cat house for loose screws or splinters.
Clean the surfaces with a damp cloth to remove dust and hair.
Replace scratching surfaces as needed to keep your cat engaged.
 Conclusion
Building a colorful wooden pallet cat house is a fun and rewarding project that both you and your feline friend will enjoy. Not only does it provide a safe and cozy space for your cat, but it also adds a unique and personalized touch to your home. By repurposing wooden pallets, you’re contributing to a more sustainable lifestyle while creating something truly special. So grab your tools, unleash your creativity, and get ready to build the ultimate kitty dream home!
This guide provides a comprehensive overview of the project, but feel free to adjust the steps or add your own creative flair. Let me know if you’d like help with specific sections or additional ideas! 🐱✨